My Ink Carrier

Looking back on life before I had a 3D printer, I realize the struggles I went through to create simple functional items.  I would have to carve them out of wood, or rivet soda cans together to bring my inventions out.  Now, it is as simple as designing what I want and printing it out!

The first step I take to bring my designs to life is a quick sketch in my notebook so that I can jot down all of my ideas and what I want my design to do.  While doing this, I think about how my design can help improve my daily activity or my hobbies.  Recently, I got back into drawing with a dip pen when a fellow vendor at MaloogaCon showed me her solid glass dip pen (It blew my mind!).  Of course, I got one for myself and one for my wife and we use them daily now.  The problem for me is to lug around my dip pen, my water container and my inks.  I like to write with it too, so I take it with me to work and write down notes as I go through my day.  Here is a photo of my draft (It’s boring as I did’t sketch it out, I just wrote down parameters I needed)

From there, I go to the 3D design software and build my model.  I primarily use 123D Design from AutoCad, but Tinkercad.com is a great tool as well.  For this model, I used 123D Design.  From my sketch, I knew that my carrier for my inks and pen needed a wall thickness of 2mm and it needed to be 195mm long, 65mm wide and a total of 80mm tall.  This design also required a pull out tray where my pen would be stored in the bottom, so I translated all of my measurements and left some extra space for the tray to slide nicely (always leave a bit of room for moving parts based on your printer’s tolerances).  Here is what transpired:

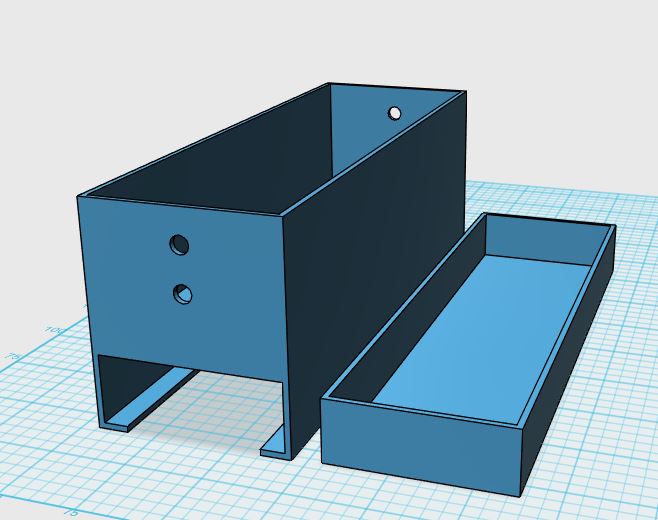
Now, I went to my slicer program (Cura) and let it calculate how long this beast would take to print.  This particular print will take 9 hours and 50 minutes to print and will consume approximately 178g of filament.  I decided to take a little bit more weight off of it to add a design element to this box.  It needed a bit more design work to fit what I wanted, so I created a V2 of it here:

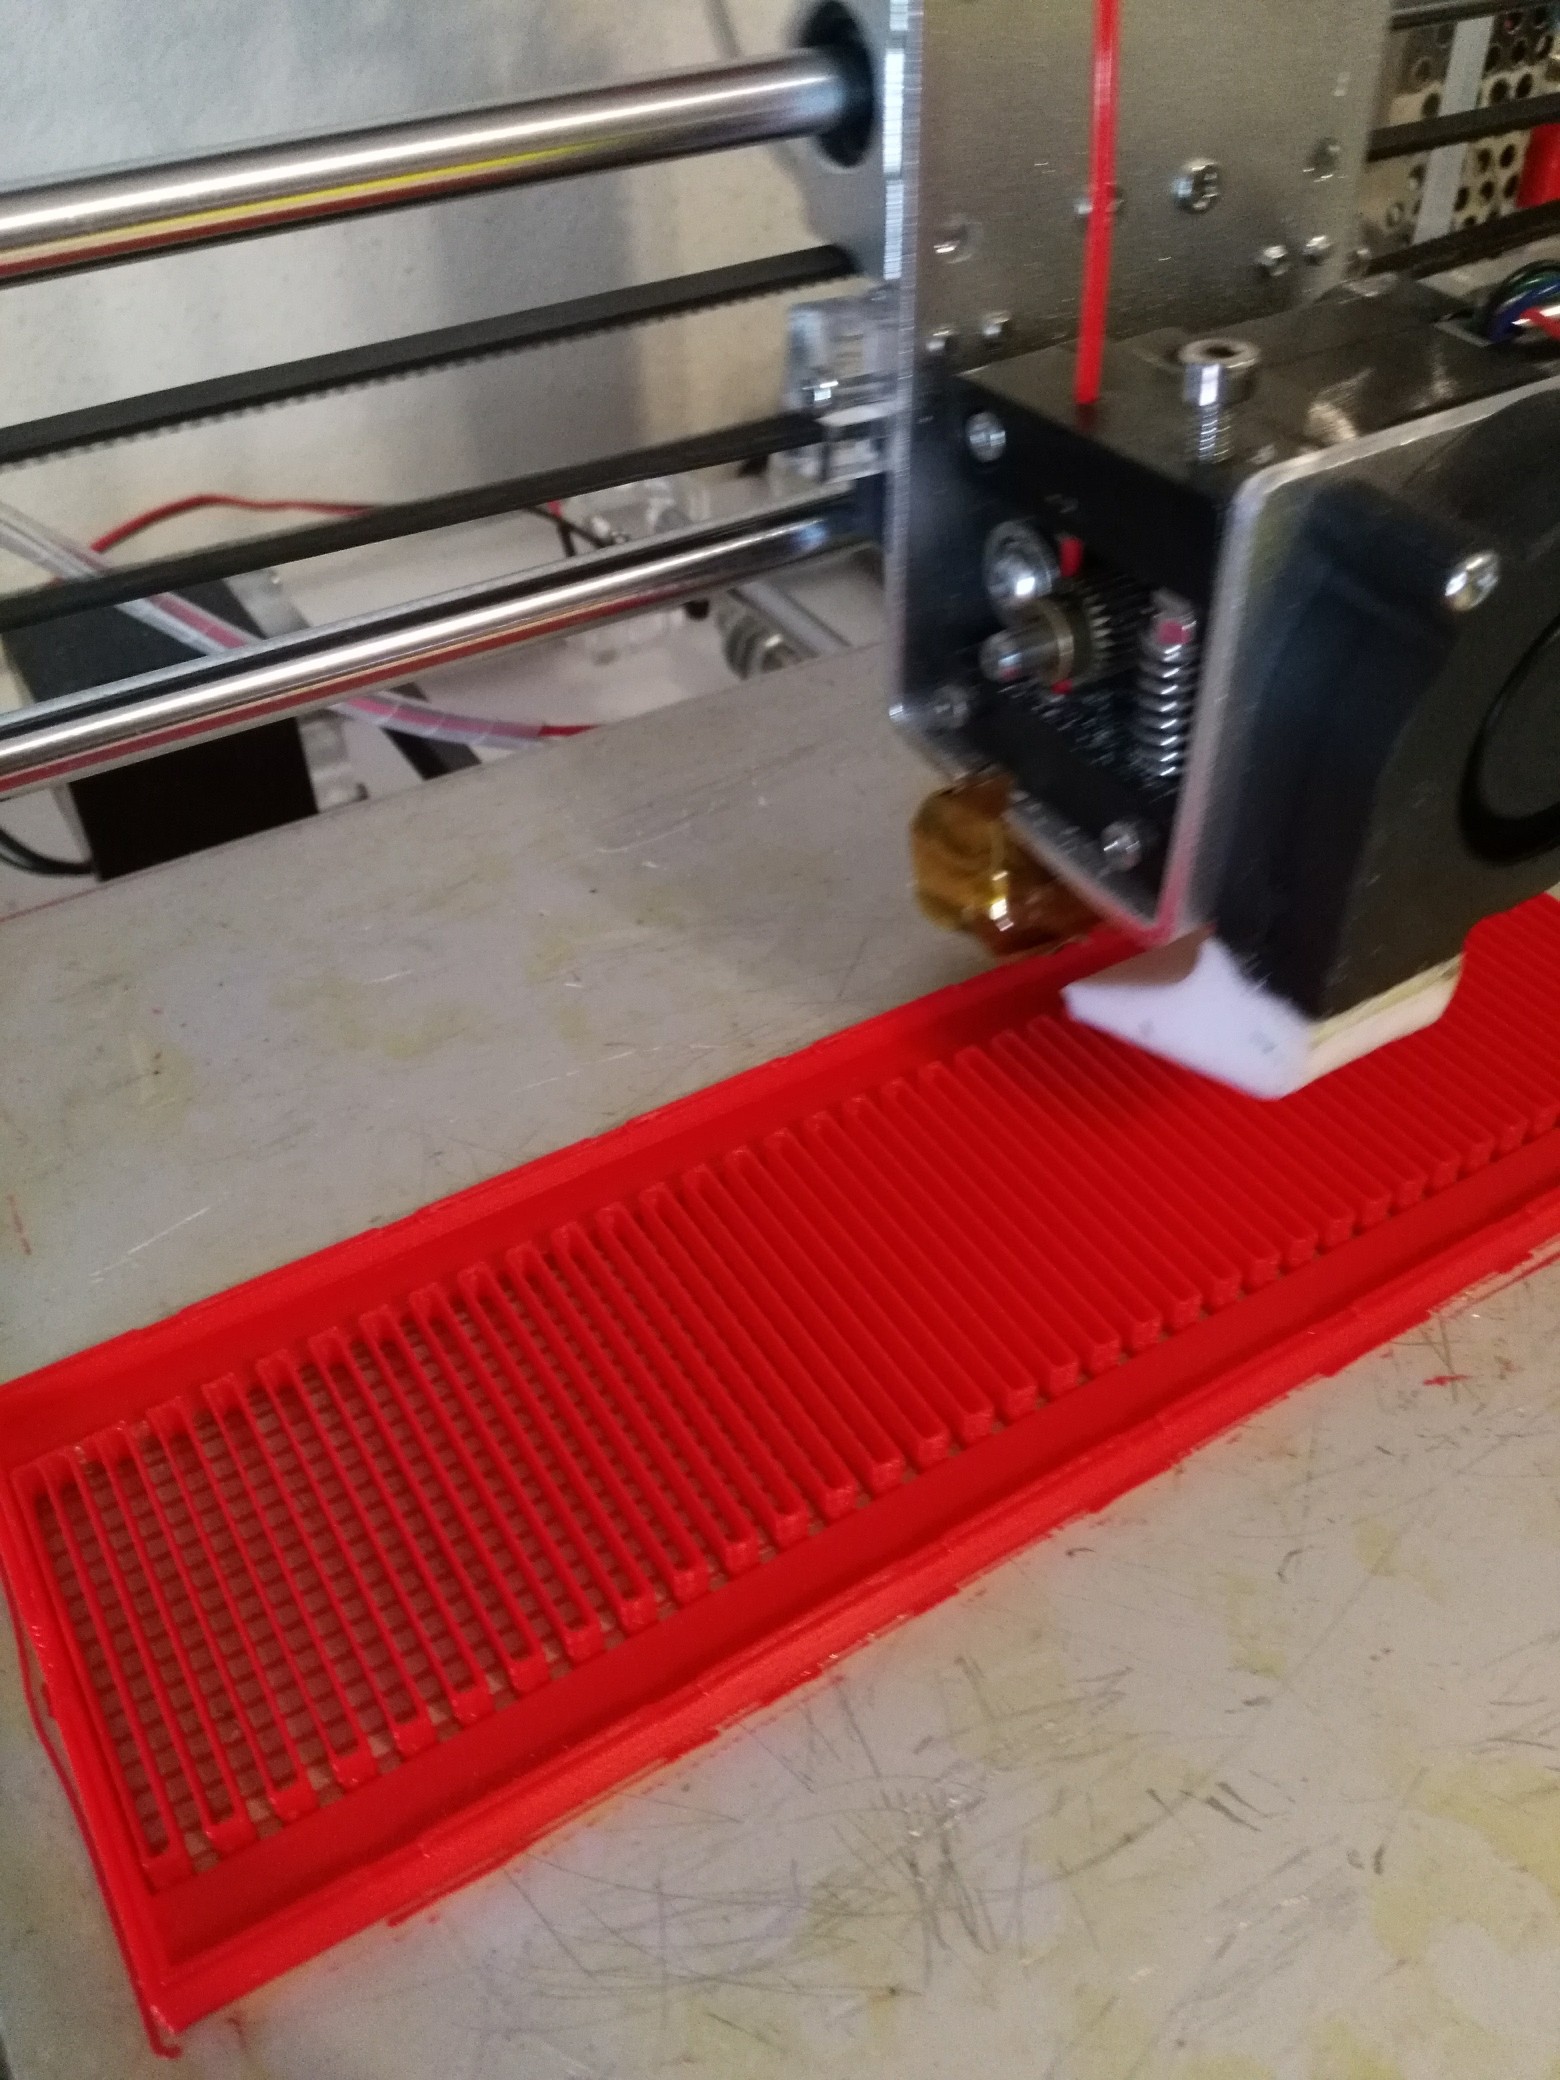
By adding the holes to the main body, I was able to shave about 8 grams and 20 minutes off of my print.  Now, it was on to printing this.  Now that I have these holes in it, why not print with 2 separate colors?  I am now printing the main body in Red and the Pen Tray in Black to give a nice 2 tone effect.

There was a crack, then a snap

The Ugly – When prints fail

We have been working on a custom designed sword project that I completed the model for yesterday.  The handle has been printed already, so I started on the blade yesterday… a 20+ hour print.  Lately, I have been prototyping with a cheap roll of ABS (More on that later) and I have had some fairly good results.  I started the print around 10 AM yesterday and hoped to wake up to at least a nearly finished product this morning.


Instead, I was startled awake by a crack, a snap and then some dragging noises.  Fearing the worst, I jumped out of bed at 5AM and ran to the print room.  I thought the print had popped off the bed as sometimes ABS will contract while cooling and pop itself free.  This time, it stayed on the bed, but had such crazy layer separation that the layers popped up and got snagged by the hot-end.  Here are some fun photos to show you.  Ignore the green… I wanted to test fit some stuff before committing to another print job.

So… why did it fail, you ask?  What could have caused such crazy layer separation?  It is a combination of things, actually.  Let’s start with the plastic type used for the print.  I used ABS plastic on this.  ABS is awesome for getting intricate details and for it’s structural integrity.  The plastic has a bit of a flex to it, so it can take an impact without shattering.  Sounds awesome, right?  ABS’s largest strength is also it’s largest downfall when it comes to 3D printing.  With all of those properties, the plastic shrinks a bit when it is cooling, hence the finer detail.  As the plastic is shrinking, if layers cool at a different rate from each other, warping and splitting can occur.  This is fairly easy to combat though.  If you build a chamber around your printer (even a box will work) you can mitigate this effect by shielding the print from ambient air.  Now, let’s look at the quality of the plastic I used.  This spool of plastic was $12 for a kilogram on Amazon!  I know, right?  I love how this plastic prints with small parts and actually printed a few hand-spinners with it.  The downside is that it is very weak.  I spilled some isopropyl rubbing alcohol on one of my hand-spinners and it just about exploded!  The plastic became super brittle and disintegrated in my hands (photo below).  I don’t know what was blended in with this to make it so cheap, but make sure for high quality prints, you use high quality plastics.  Notice, I didn’t say expensive, make sure you try out many different brands and types of plastic.  You never know when you will find a favorite cheap one!

This print broke apart when isopropyl alcohol fell on it

The good news is that when I created this sword, I created it too thick and the dimensions don’t feel quite right to match the handle design.  This failed print is allowing me to go back and redesign without losing 3 days of print time.

New ideas!

Now that MaloogaCon 2017 is over, we want to work on our cosplay portfolio by making awesome props.  We have been toying with the idea ever since we printed the Soul Edge sword from MyMiniFactory.com.

I printed it out in 2016 for a Halloween costume and my wife did the painting and detail work on it.  Since then, people have been requesting that we sell it to them, but we cannot do that in good conscience with it being someone else’s design.

Now we are going to create our own digital files of weaponry and armor that we can customize to fit our customers.

Stay tuned for more updates on this!

MaloogaCon 2017!

We are at MaloogaCon 2017!

This is our first large convention we are attending and vending at!  Our booth is under my wife’s company, Blossoms of the Heart.  You should visit her site at BlossomsoftheHeart.com!


We are so excited for this opportunity and I thought it would be a great opportunity for me to start a blog about 3D printing and home life.  I remember when I first started with 3D printing, I didn’t know what to do or where to go.  There was a lot of research to do and a lot of misinformation was out there.


I hope to have some great tips coming out about 3D printing and maybe even some stuff about making Salsa… afterall, that is what started this crazy adventure!


Here is our booth barely set up:

Blossoms of the Heart