Ciclops 3D Scanner Project

When I started my new job, I found that the owner of the company has a 3D printer as well, but he never took it out of the box because he wanted to get his Ciclops 3D scanner working properly first.  It was placed into my care to see if I could calibrate and troubleshoot it.  I thought this would be a great thing to have around so I can scan… well, stuff.  My first scans came out awful and I found that this scanner relies a lot on perfect lighting and no reflections.

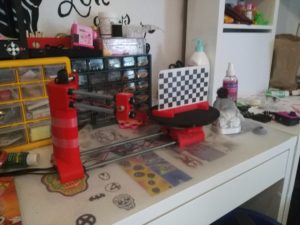
Here is the scanner on my desk:

Here is how the scanner works:  The checker board grid on the turntable is a calibration piece.  The Horus software picked up the grid and puts a pattern across it to determine distance and angle.  The scanner then uses lasers to show features and help judge distance and orientation.  After much calibration, I found that I could get this scanner to work with using only one laser.. the left one.

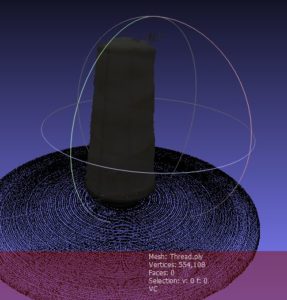
The scans using this came out pretty good.  Once scanned, you need to move the mesh file to MeshLab for processing and then you can export a printable STL or something to use in animation stuff.  Here is the scan in MeshLab:

I scanned a spool of thread since it has texture, shape and zero reflective surface.  It was pretty cool to watch, but I don’t think 3D scanning with this scanner is going to be my type of thing as I can model the majority of stuff I want to design from scratch and if I have it, I can buy it instead of scanning it.  I am glad to have had the experience with it though and I am also happy to be able to return it and get it off my desk this coming week.

Well, I’m off to unlock a room in my house… the final room that is not usable yet is our Cutting Room where I have our vinyl cutter and another workbench.  It’s going to be awesome to have the house 100% usable soon.  Updates on that project to come soon!

The Sword Project

We decided to start building some cosplay props based on our own ideas and designs and came up with a pretty awesome sword.  It only took a day to print everything out using all of our printers and assembly was quite easy… all the things we look for in a multi-part model!

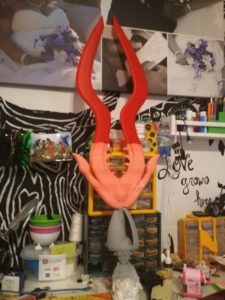
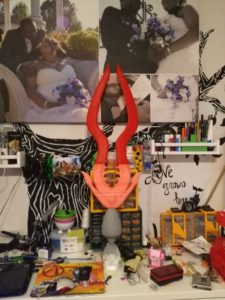
Here is what it looks like assembled (Please excuse the messy desk 🙂

Sword Front
Sword Back

Came out pretty sweet, light weight and the handle was angled properly (That was my biggest fear of having the sword angled so your natural slash would hit with the broadside instead of the sharp side).

I did some adjustments to it and then started working on the bond between the handle and the blade… then I broke the blade by accident… in 5 pieces!  I almost cried a bit as I stared at my shattered creation on the floor.  I picked up the pieces, carefully glued them back together and set out to go to work for the day.

2 days passed without me touching the sword out of far of breaking it and then I decided to clean my desk up and get a clear mind.  The sword was staring at me the whole time and I knew what I had to do…  I picked it up and flailed it around like a mad-man laughing maniacally as the pieces flew off of it.

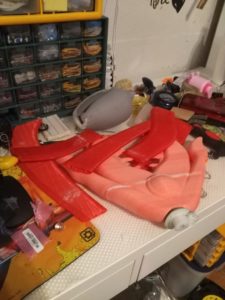
Here is the aftermath of my destruction

Why would I destroy it in this fashion?  I am building a prototype for others to use.  I can’t provide a product and then tell them only gently move it and don’t even bother posing with it because it will rattle apart.  Cos-players need to be able to pose,  swing, move and carry these items.

The other part to the destruction was to do a cross section analysis on the sword to see if it was my design that caused the weakness or the printing process.  I can happily say it was the printing process as my printer was under-extruding by about 20% due to some recent upgrades and firmware changes without double checking my e-step settings.  The bonded parts where I used dowels and CA glue were solid and the pink part printed on another printer was also pretty solid.

There you have it.  The Sword project phase 3 – Will it last?  The answer is YES, we can simply re-slice this with thicker walls, maybe 20% infill instead of 10% and re-print it to have a solid sword that can be carried, swung and posed with.  You can follow these projects on my instagram where I have much more content.

Thank you for reading!

New ideas!

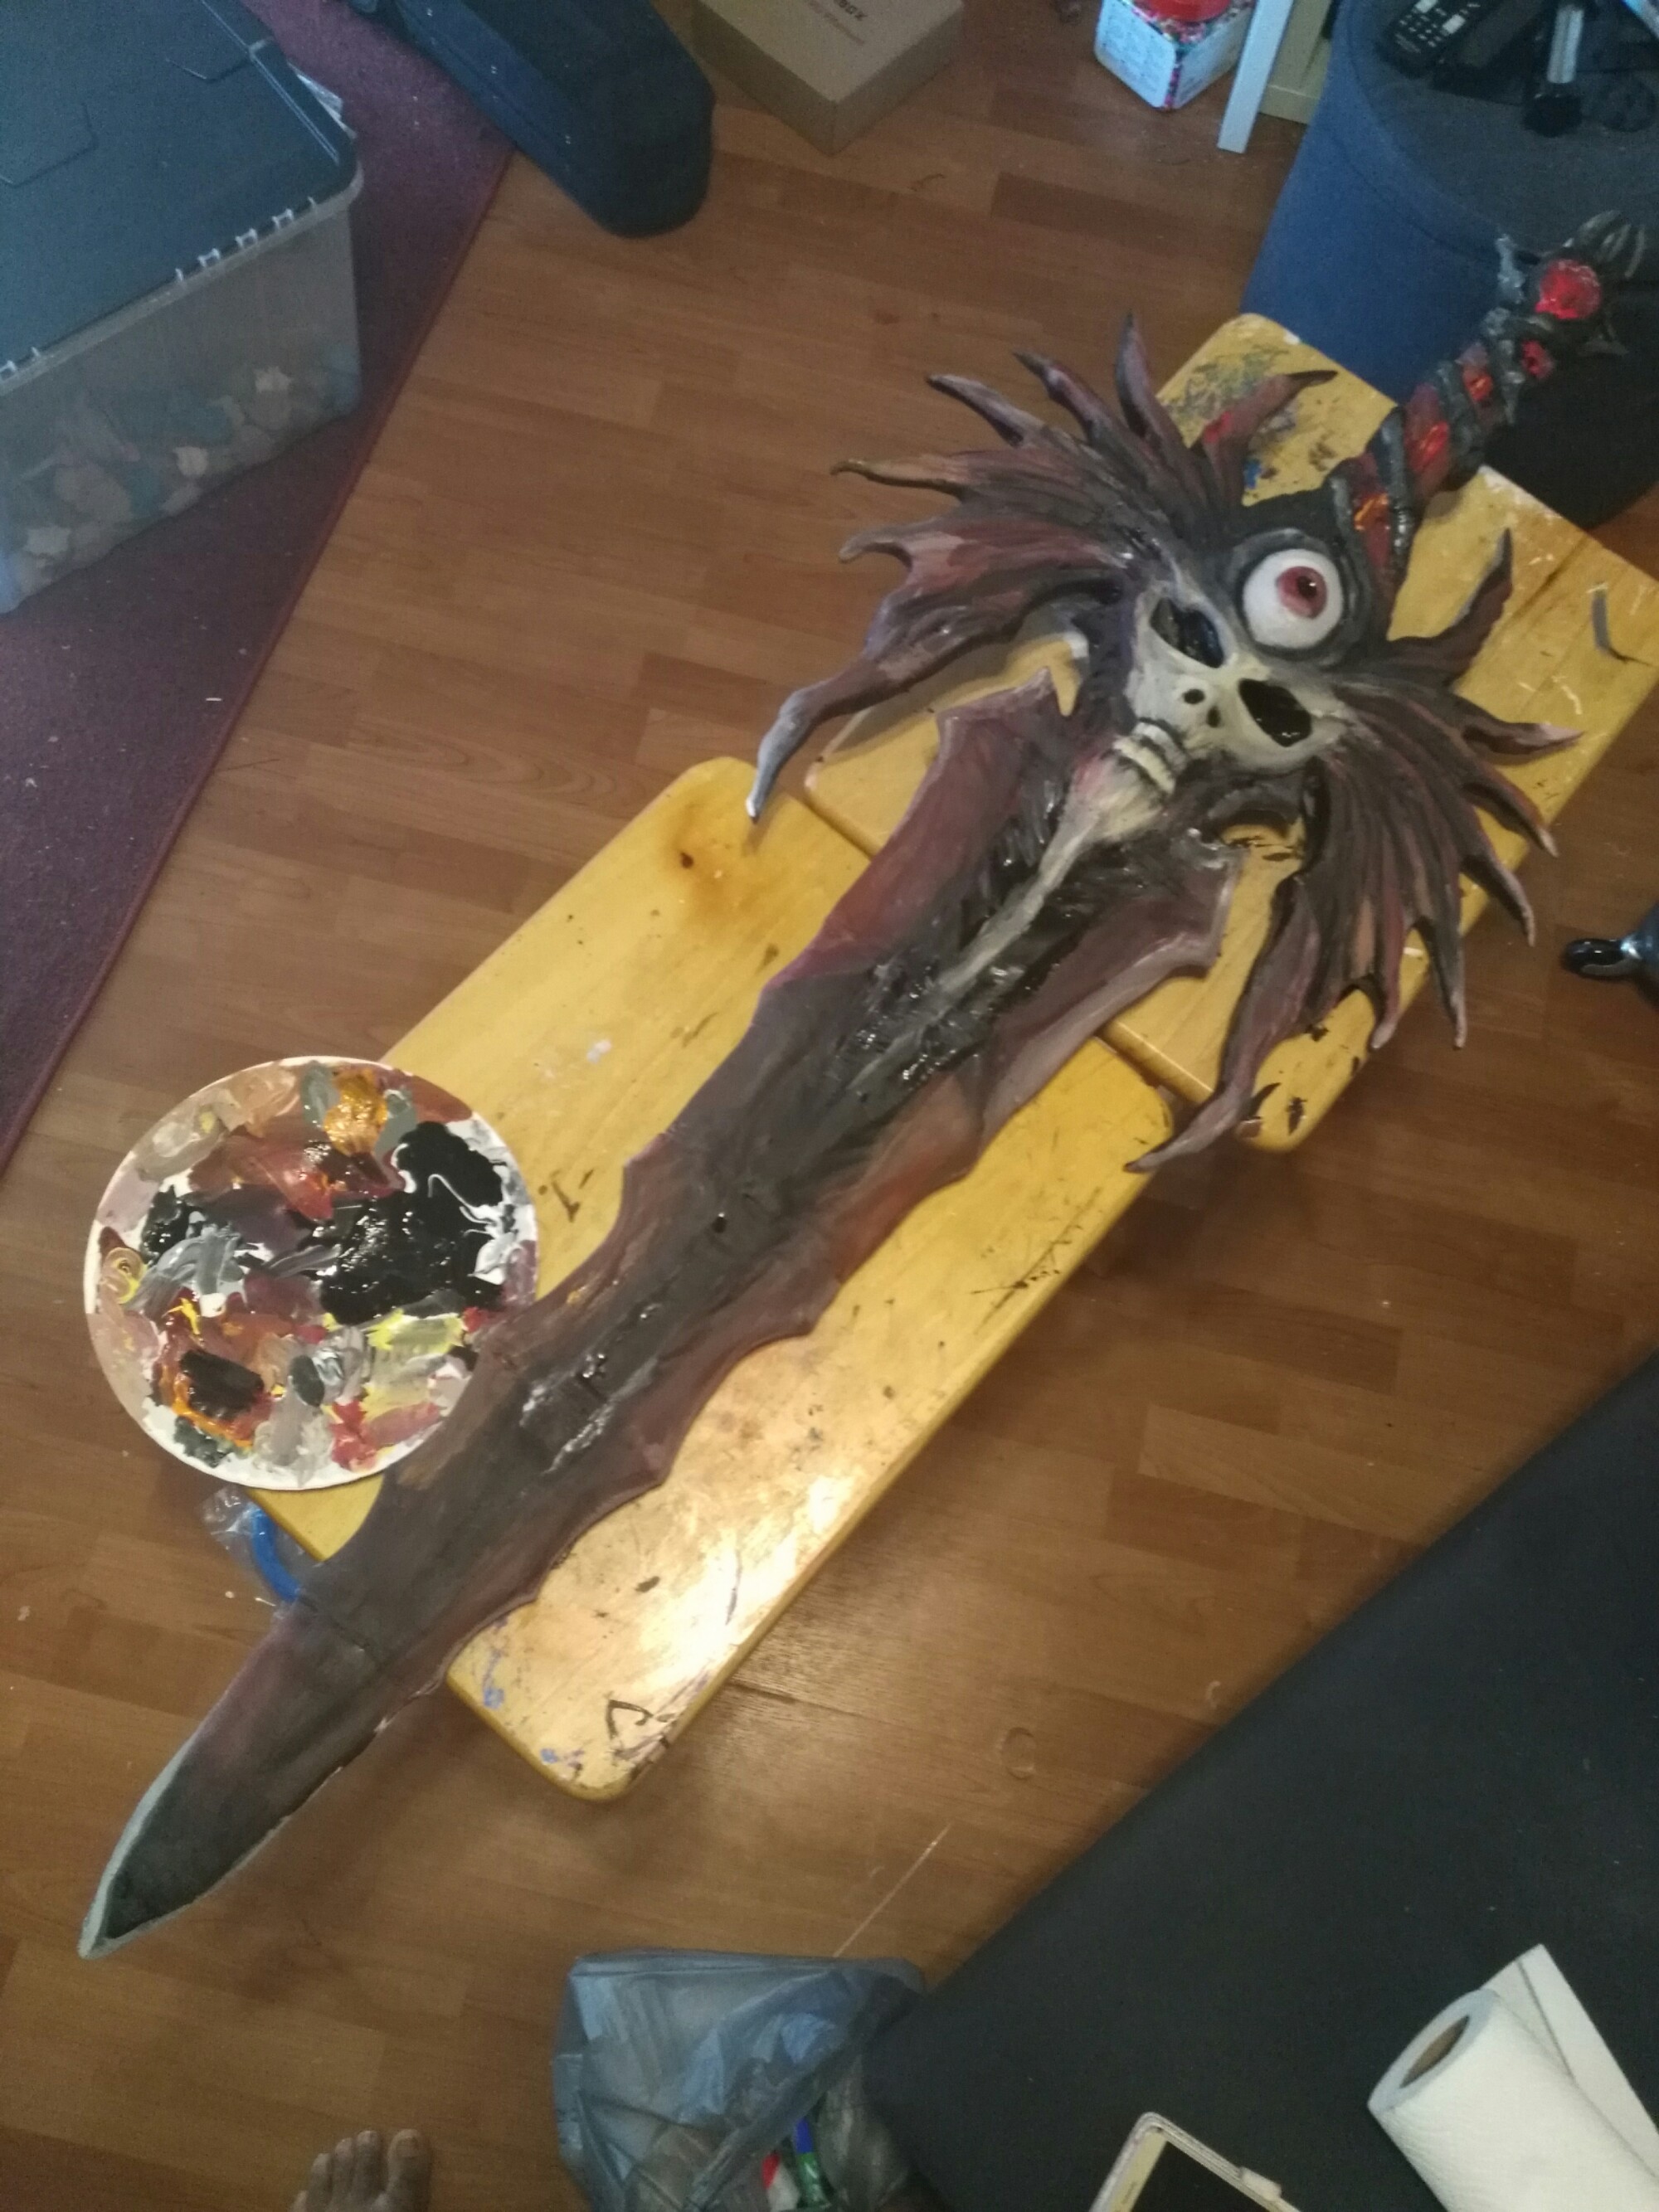
Now that MaloogaCon 2017 is over, we want to work on our cosplay portfolio by making awesome props.  We have been toying with the idea ever since we printed the Soul Edge sword from MyMiniFactory.com.

I printed it out in 2016 for a Halloween costume and my wife did the painting and detail work on it.  Since then, people have been requesting that we sell it to them, but we cannot do that in good conscience with it being someone else’s design.

Now we are going to create our own digital files of weaponry and armor that we can customize to fit our customers.

Stay tuned for more updates on this!