
When I started my new job, I found that the owner of the company has a 3D printer as well, but he never took it out of the box because he wanted to get his Ciclops 3D scanner working properly first. It was placed into my care to see if I could calibrate and troubleshoot it. I thought this would be a great thing to have around so I can scan… well, stuff. My first scans came out awful and I found that this scanner relies a lot on perfect lighting and no reflections.
Here is the scanner on my desk:
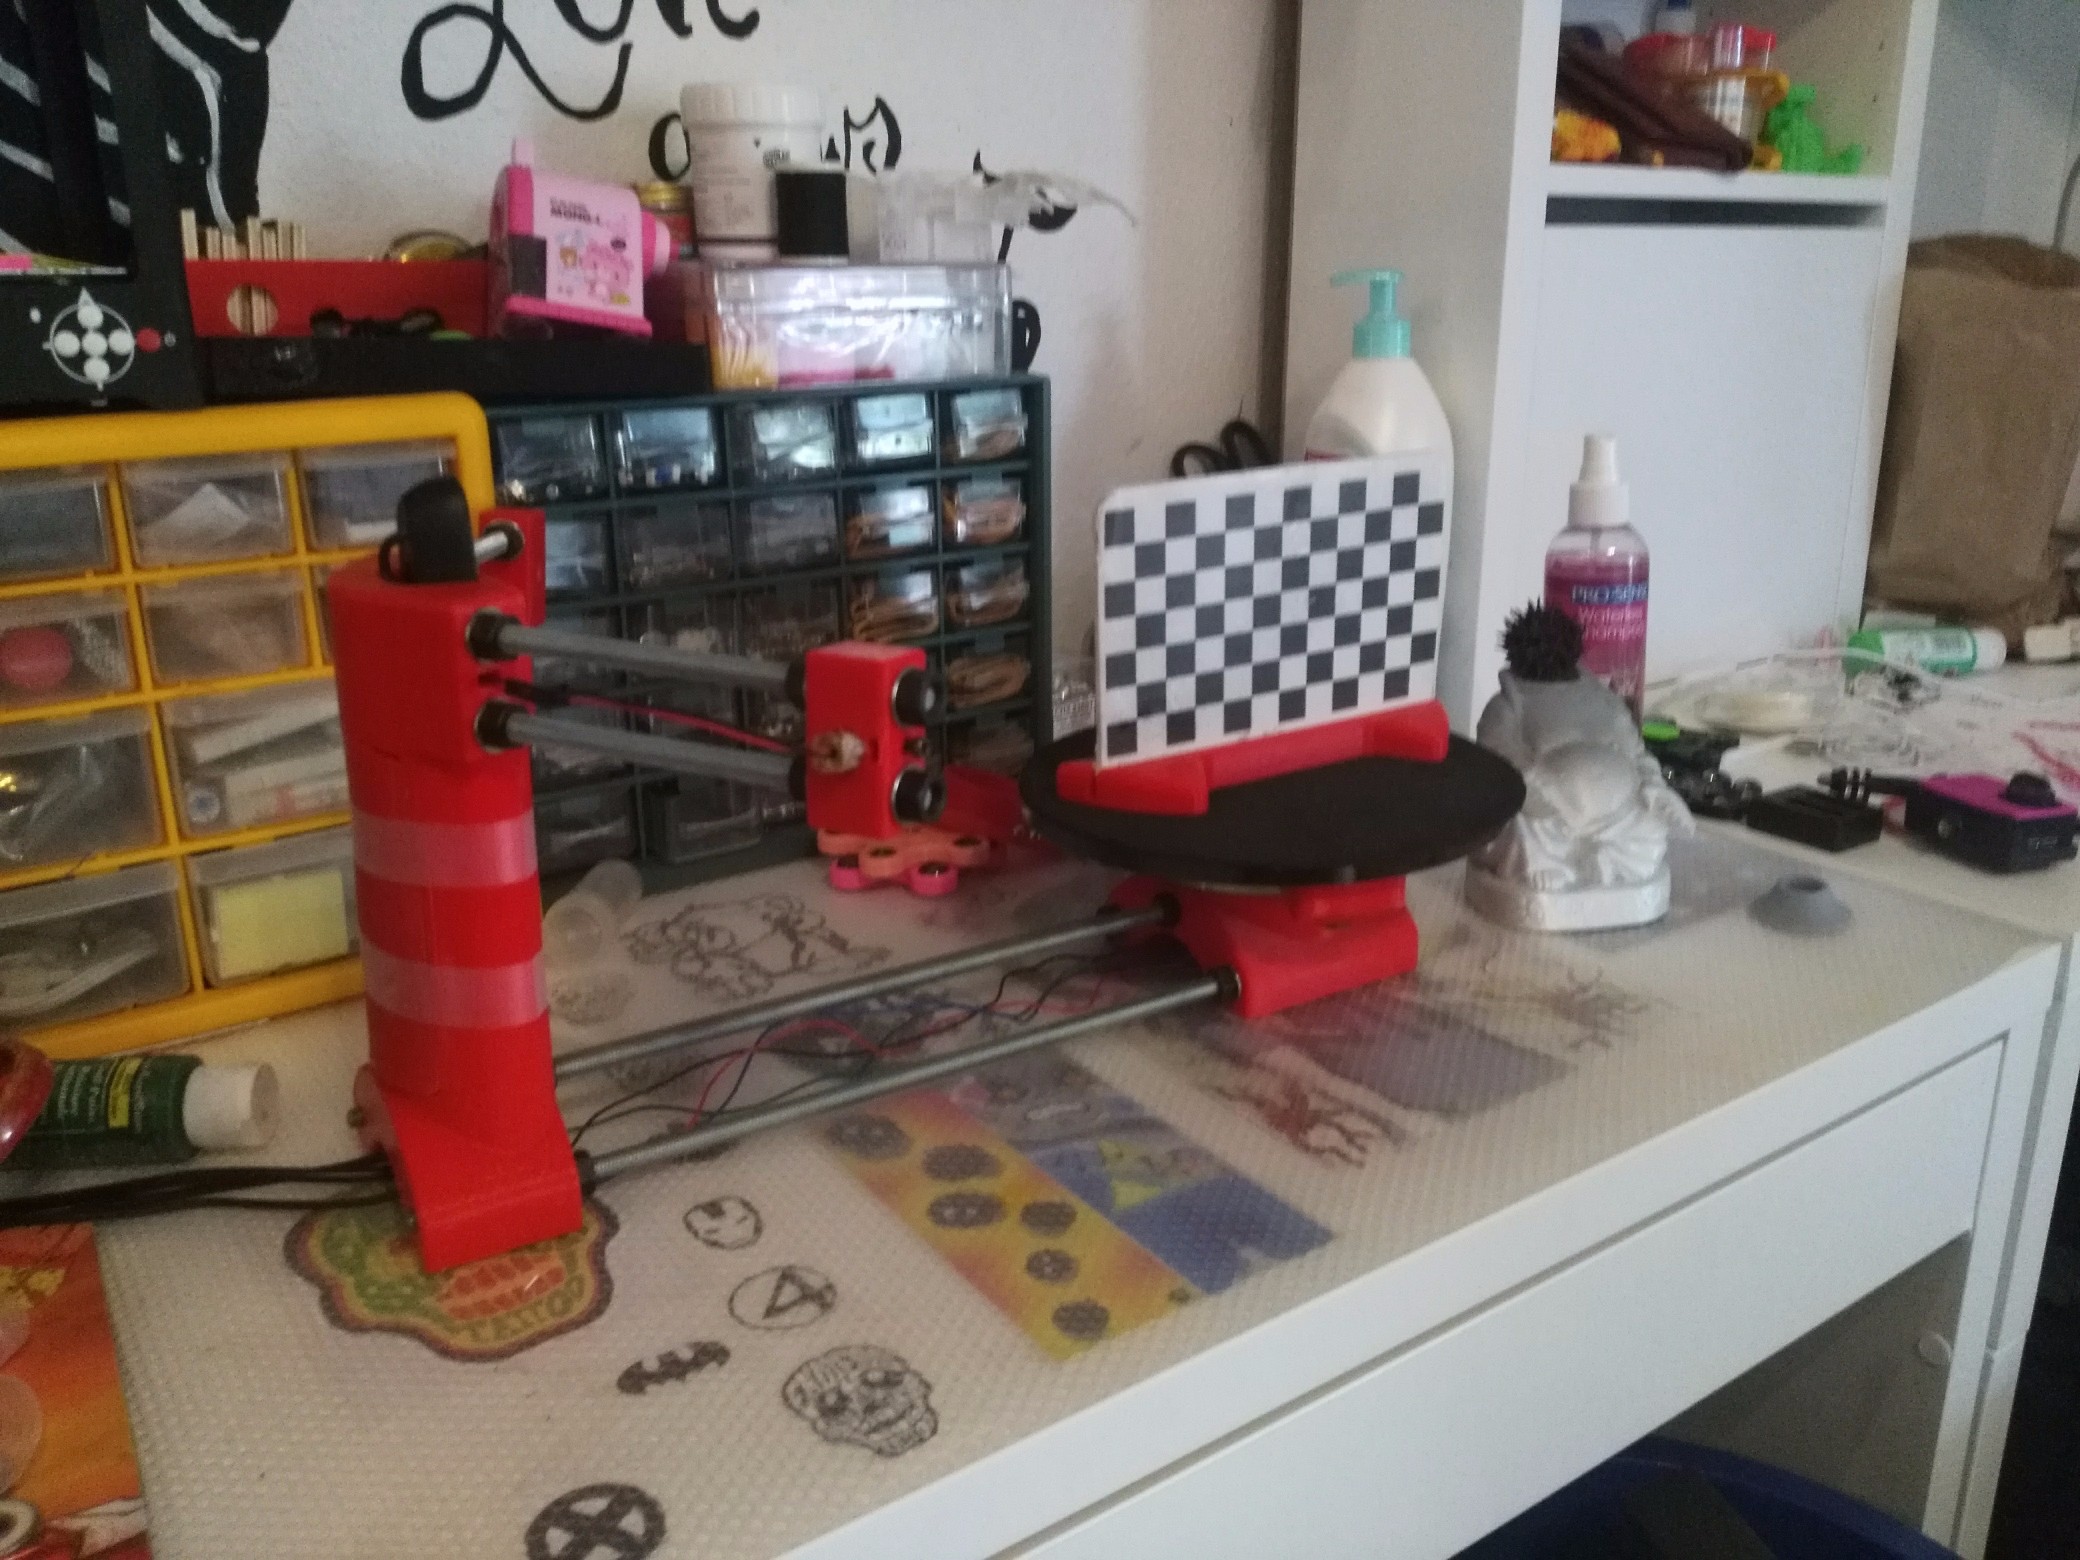
Here is how the scanner works: The checker board grid on the turntable is a calibration piece. The Horus software picked up the grid and puts a pattern across it to determine distance and angle. The scanner then uses lasers to show features and help judge distance and orientation. After much calibration, I found that I could get this scanner to work with using only one laser.. the left one.
The scans using this came out pretty good. Once scanned, you need to move the mesh file to MeshLab for processing and then you can export a printable STL or something to use in animation stuff. Here is the scan in MeshLab:
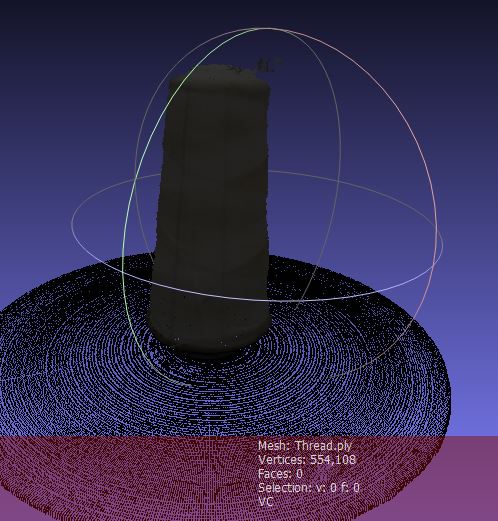
I scanned a spool of thread since it has texture, shape and zero reflective surface. It was pretty cool to watch, but I don’t think 3D scanning with this scanner is going to be my type of thing as I can model the majority of stuff I want to design from scratch and if I have it, I can buy it instead of scanning it. I am glad to have had the experience with it though and I am also happy to be able to return it and get it off my desk this coming week.
Well, I’m off to unlock a room in my house… the final room that is not usable yet is our Cutting Room where I have our vinyl cutter and another workbench. It’s going to be awesome to have the house 100% usable soon. Updates on that project to come soon!