Looking back on life before I had a 3D printer, I realize the struggles I went through to create simple functional items. I would have to carve them out of wood, or rivet soda cans together to bring my inventions out. Now, it is as simple as designing what I want and printing it out!
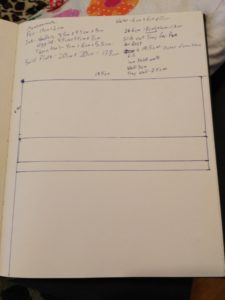
The first step I take to bring my designs to life is a quick sketch in my notebook so that I can jot down all of my ideas and what I want my design to do. While doing this, I think about how my design can help improve my daily activity or my hobbies. Recently, I got back into drawing with a dip pen when a fellow vendor at MaloogaCon showed me her solid glass dip pen (It blew my mind!). Of course, I got one for myself and one for my wife and we use them daily now. The problem for me is to lug around my dip pen, my water container and my inks. I like to write with it too, so I take it with me to work and write down notes as I go through my day. Here is a photo of my draft (It’s boring as I did’t sketch it out, I just wrote down parameters I needed)
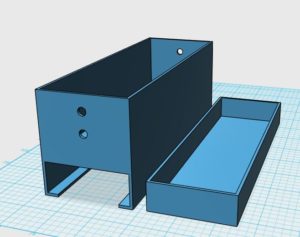
From there, I go to the 3D design software and build my model. I primarily use 123D Design from AutoCad, but Tinkercad.com is a great tool as well. For this model, I used 123D Design. From my sketch, I knew that my carrier for my inks and pen needed a wall thickness of 2mm and it needed to be 195mm long, 65mm wide and a total of 80mm tall. This design also required a pull out tray where my pen would be stored in the bottom, so I translated all of my measurements and left some extra space for the tray to slide nicely (always leave a bit of room for moving parts based on your printer’s tolerances). Here is what transpired:
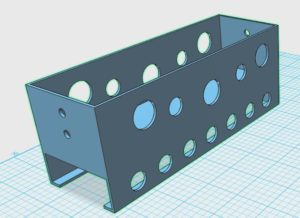
Now, I went to my slicer program (Cura) and let it calculate how long this beast would take to print. This particular print will take 9 hours and 50 minutes to print and will consume approximately 178g of filament. I decided to take a little bit more weight off of it to add a design element to this box. It needed a bit more design work to fit what I wanted, so I created a V2 of it here:
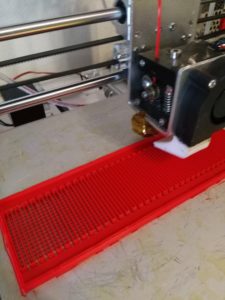
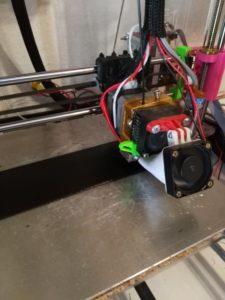
By adding the holes to the main body, I was able to shave about 8 grams and 20 minutes off of my print. Now, it was on to printing this. Now that I have these holes in it, why not print with 2 separate colors? I am now printing the main body in Red and the Pen Tray in Black to give a nice 2 tone effect.
